


On Demand Video Courses

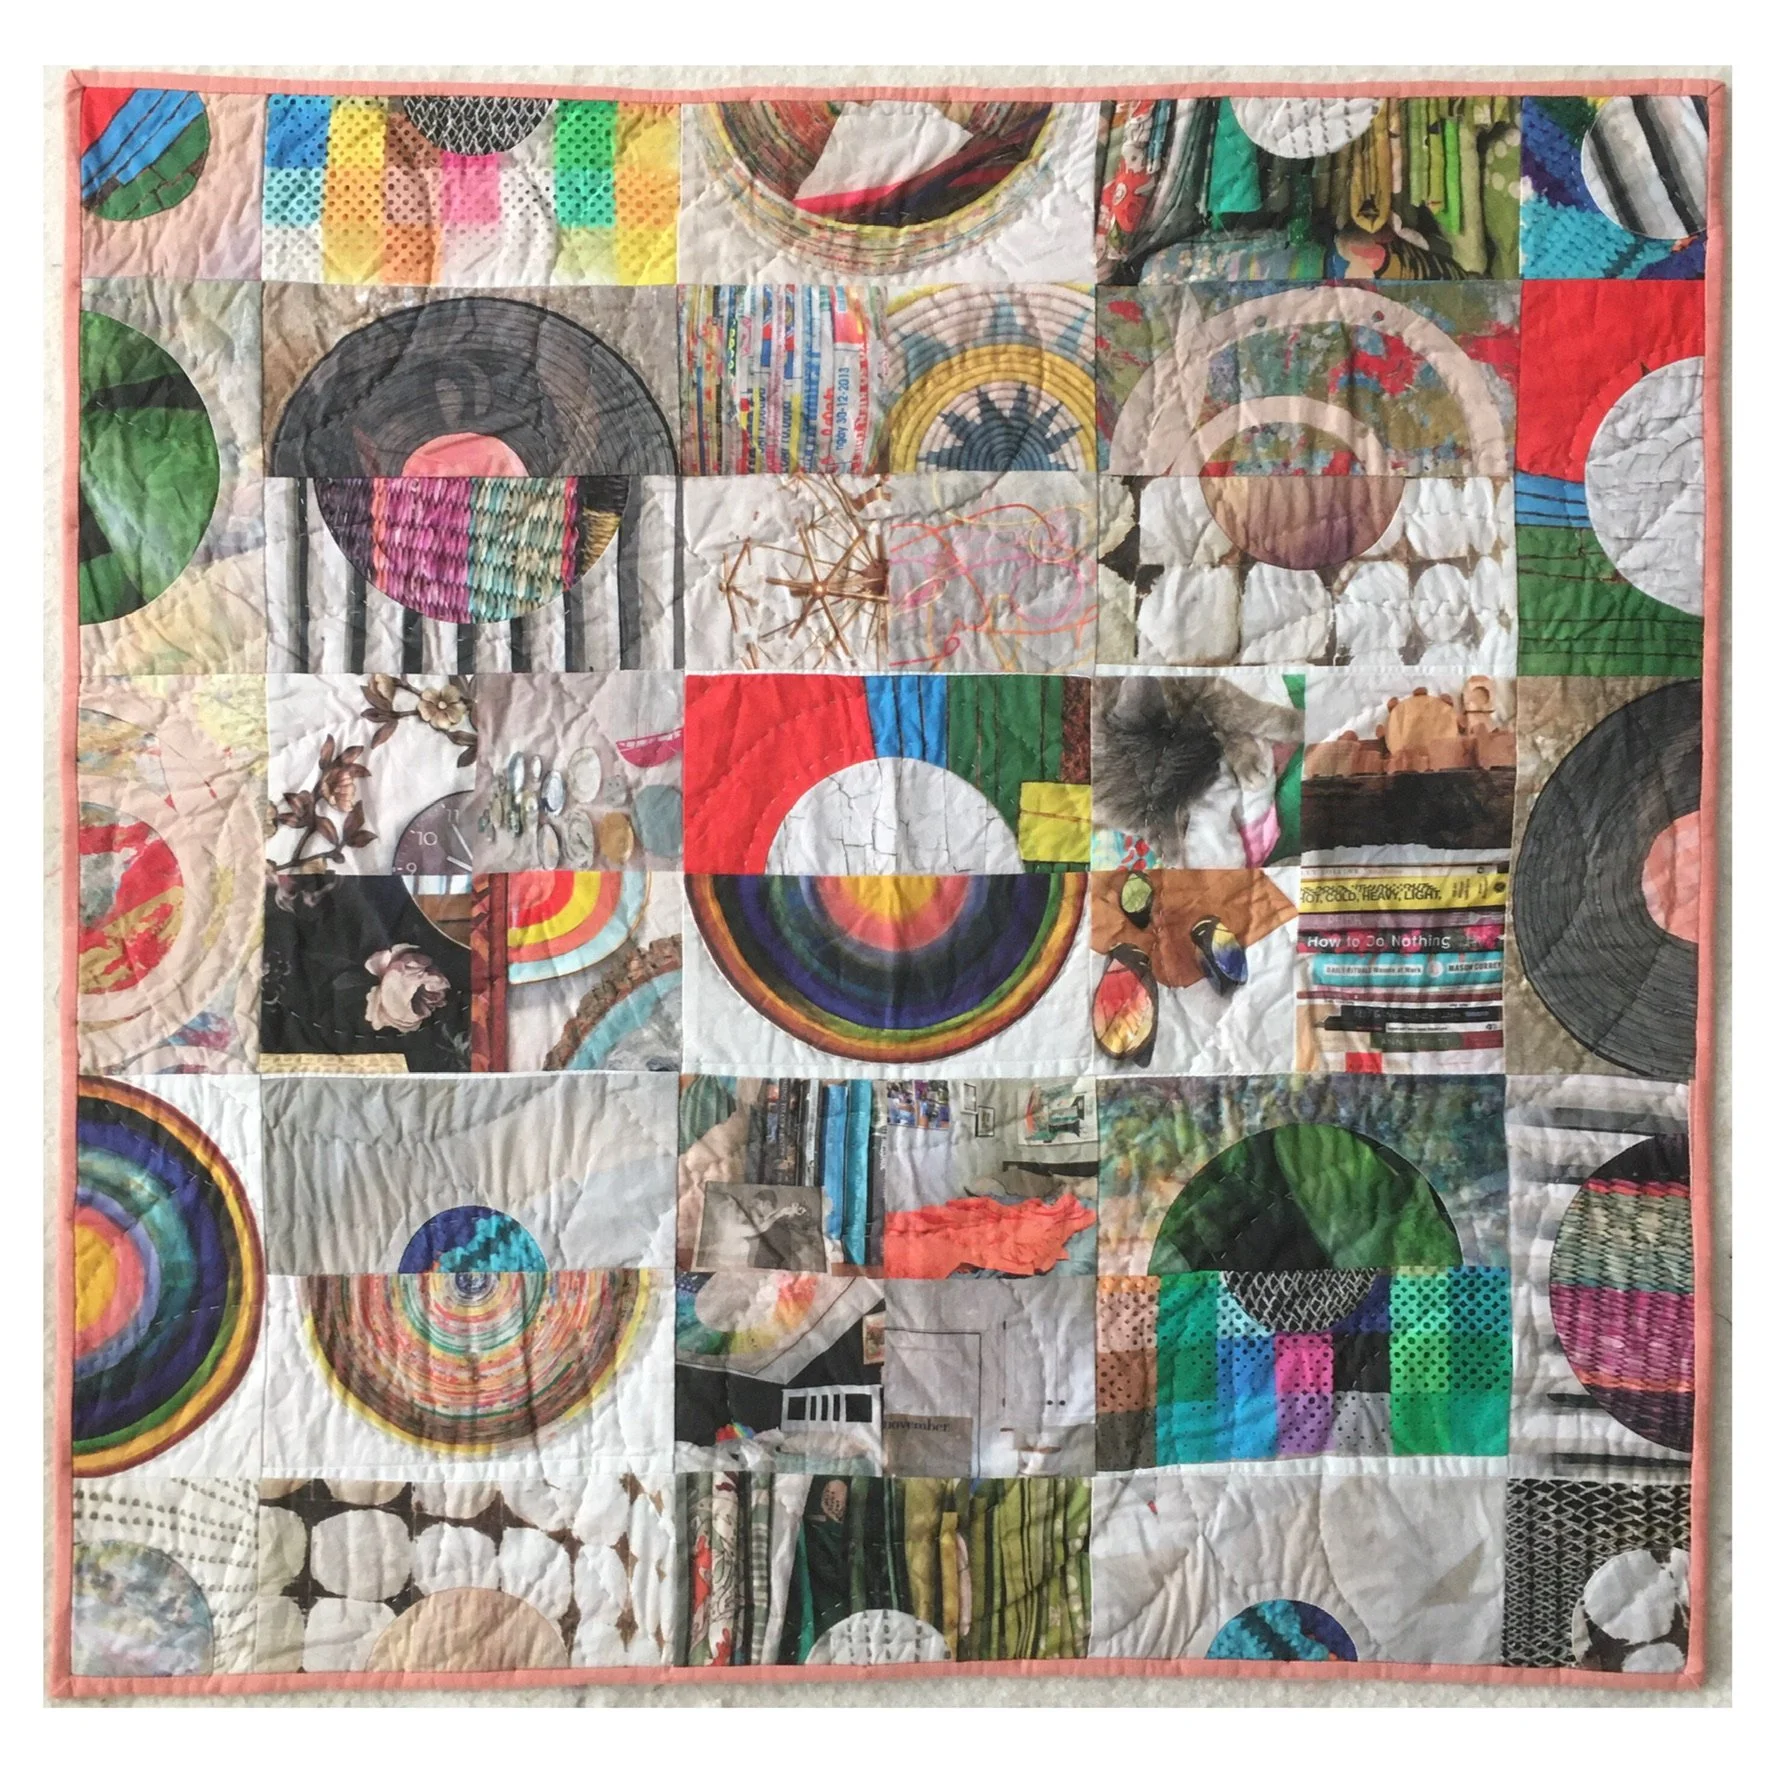
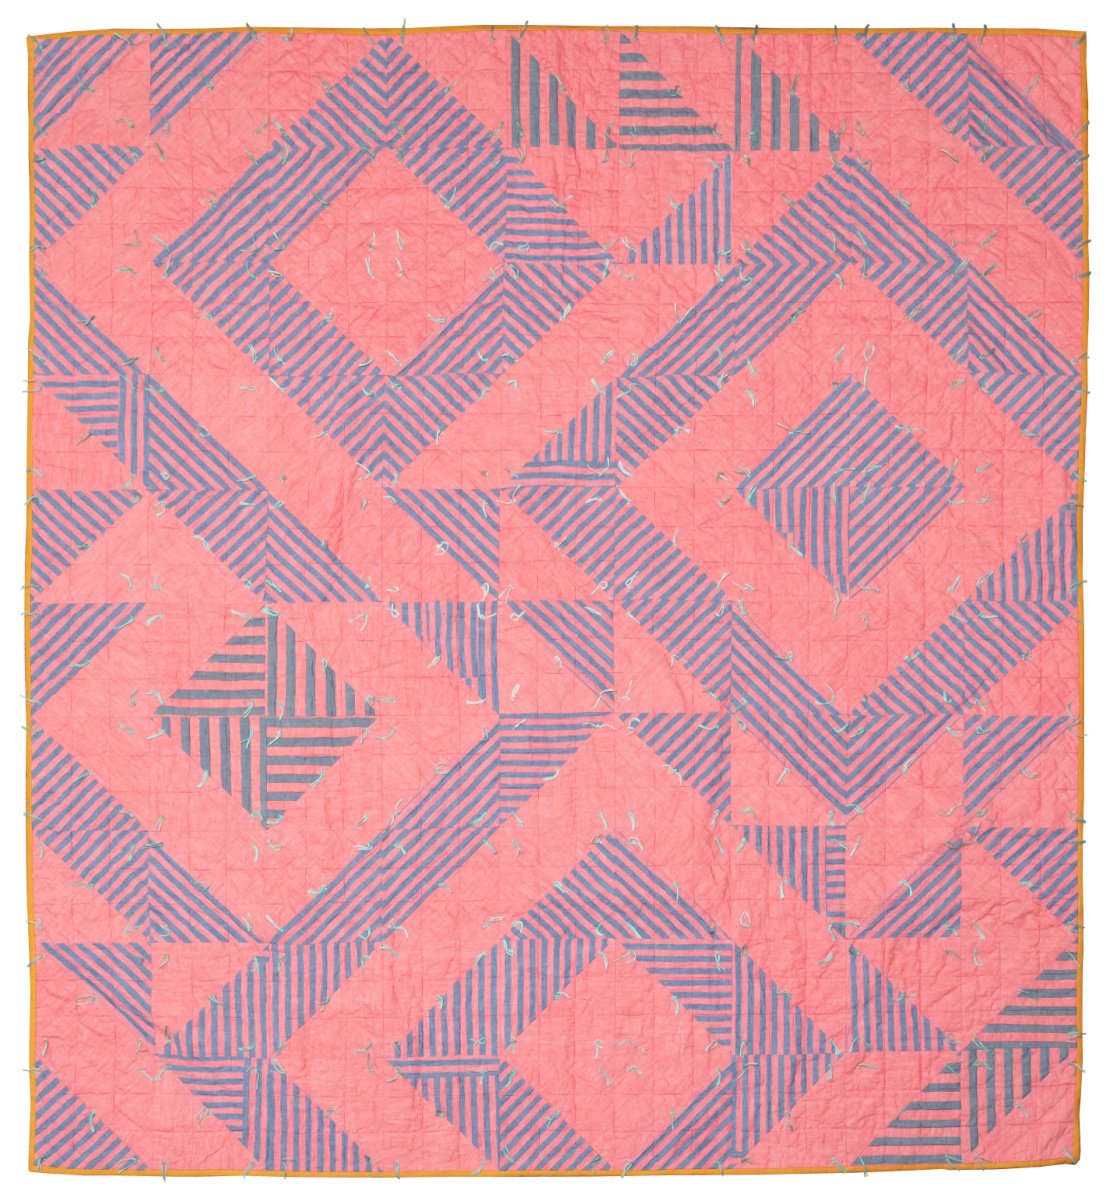
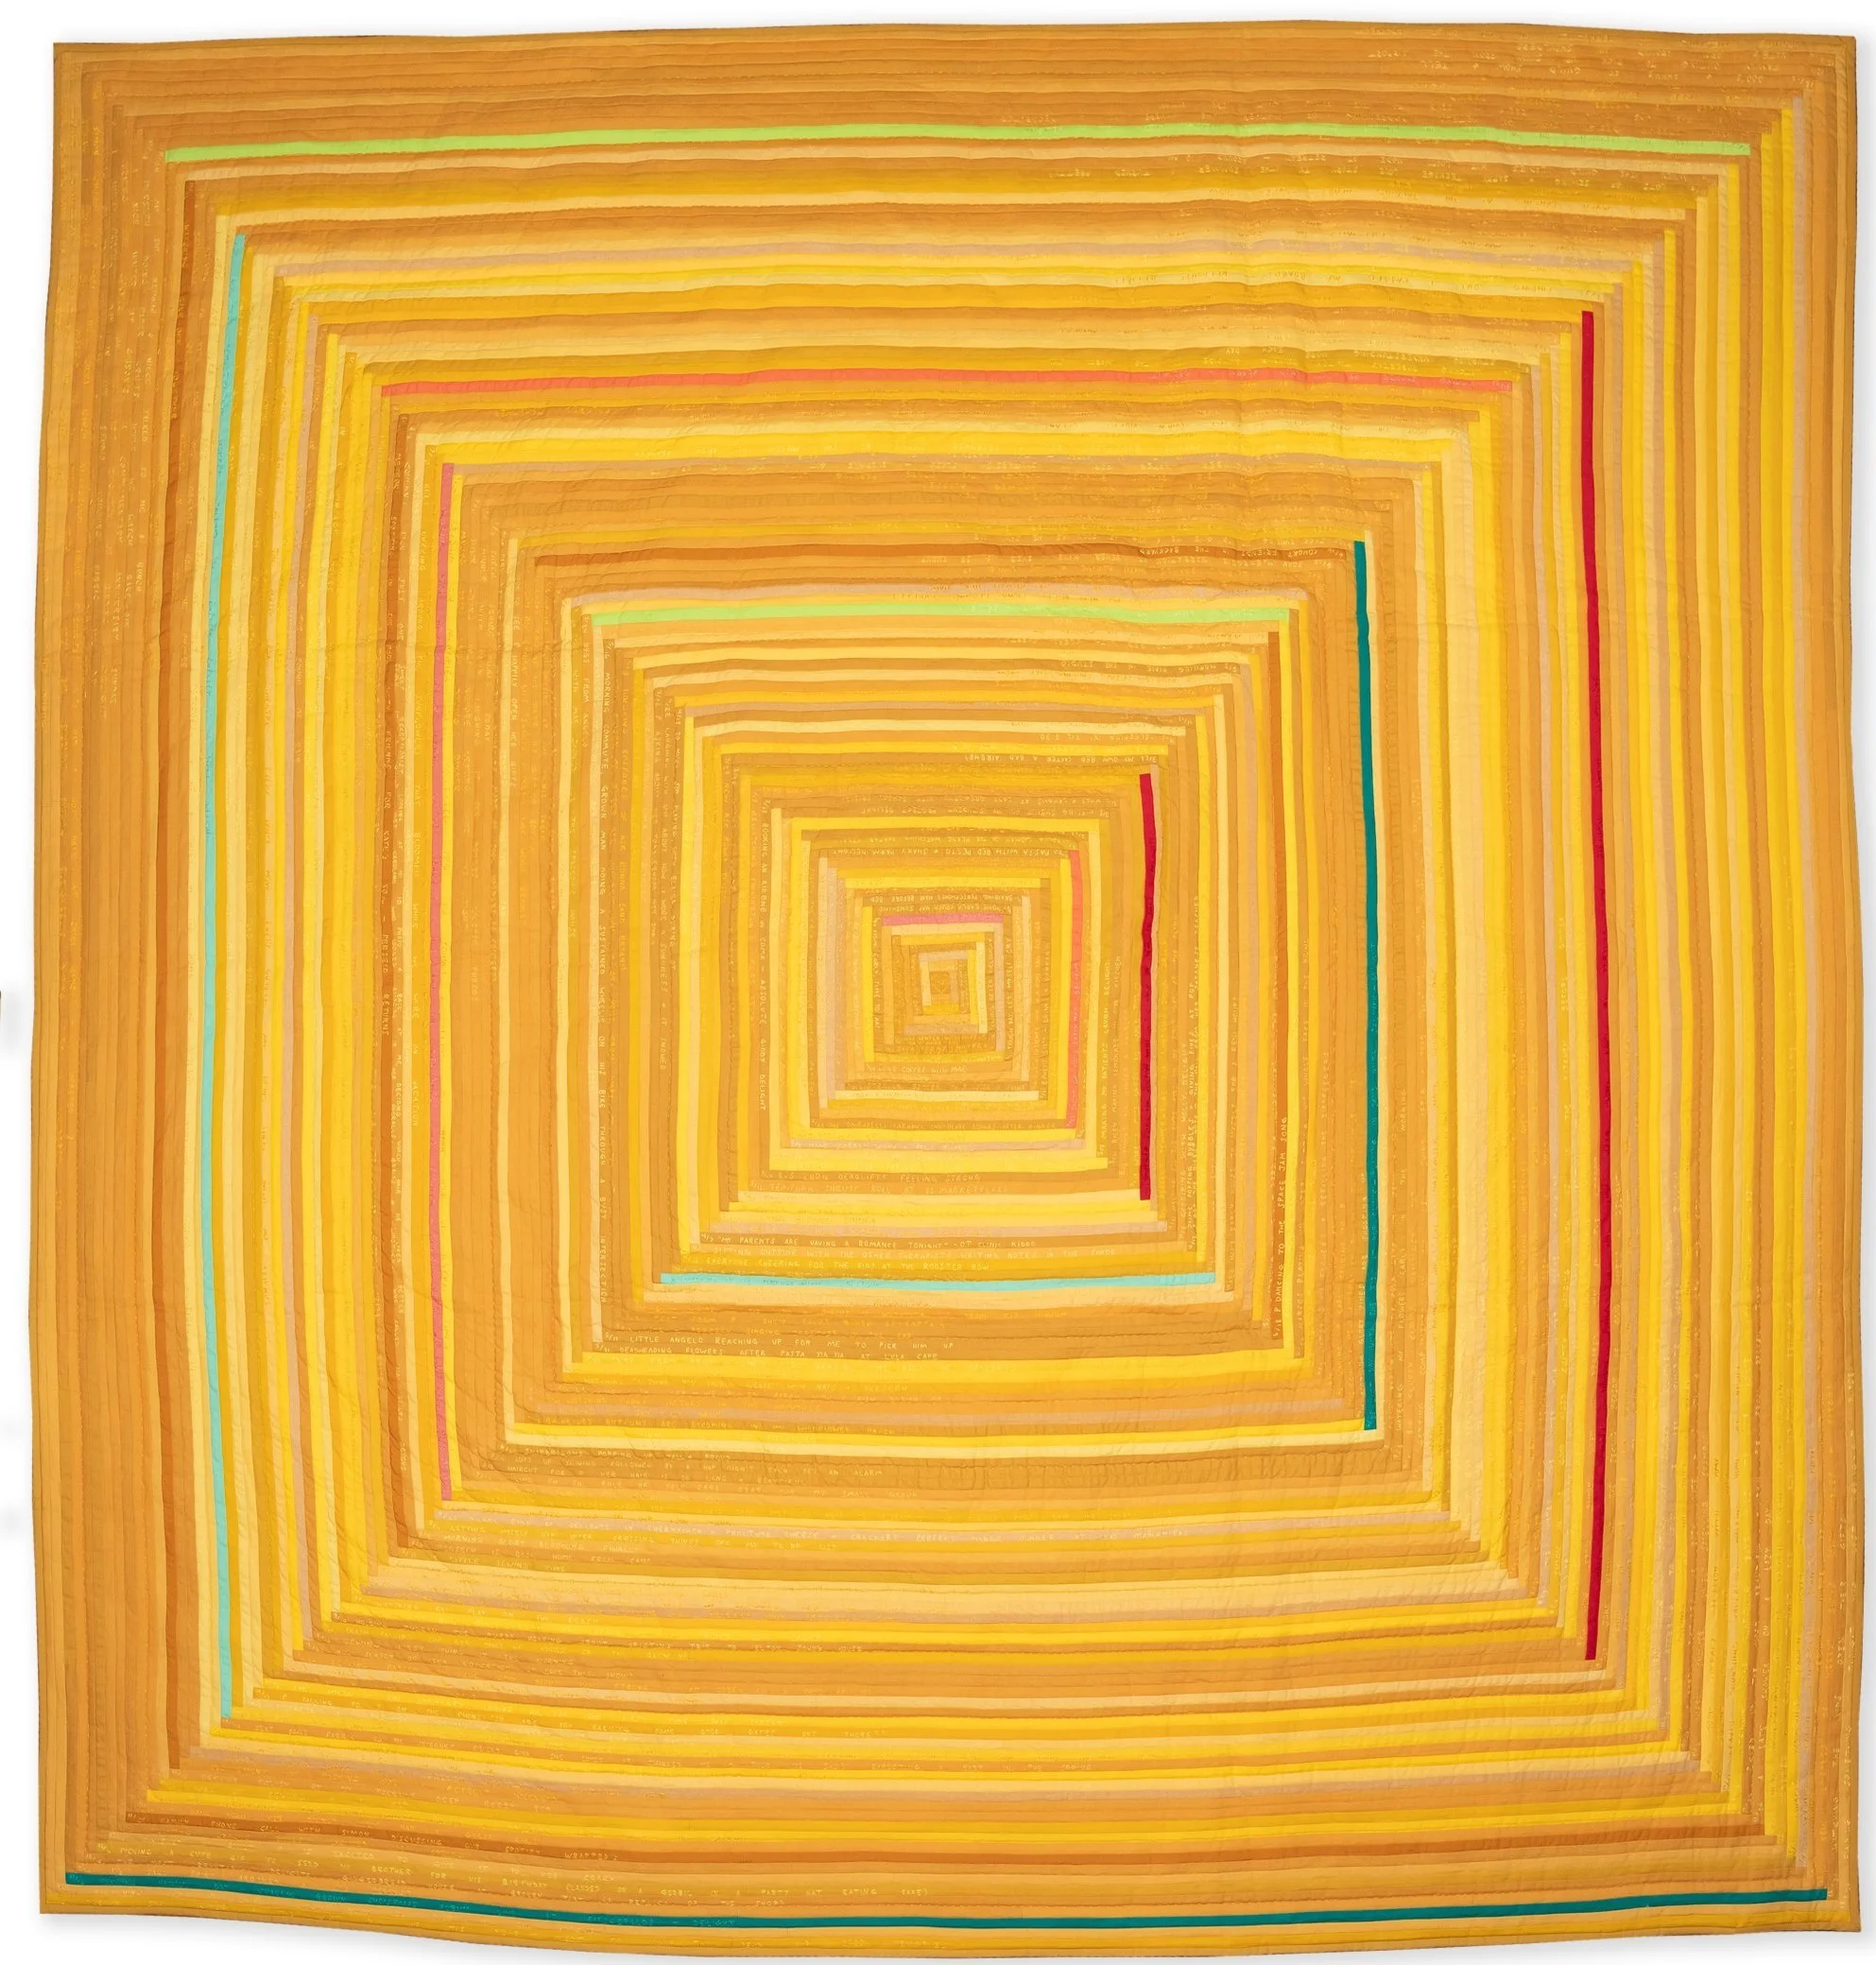
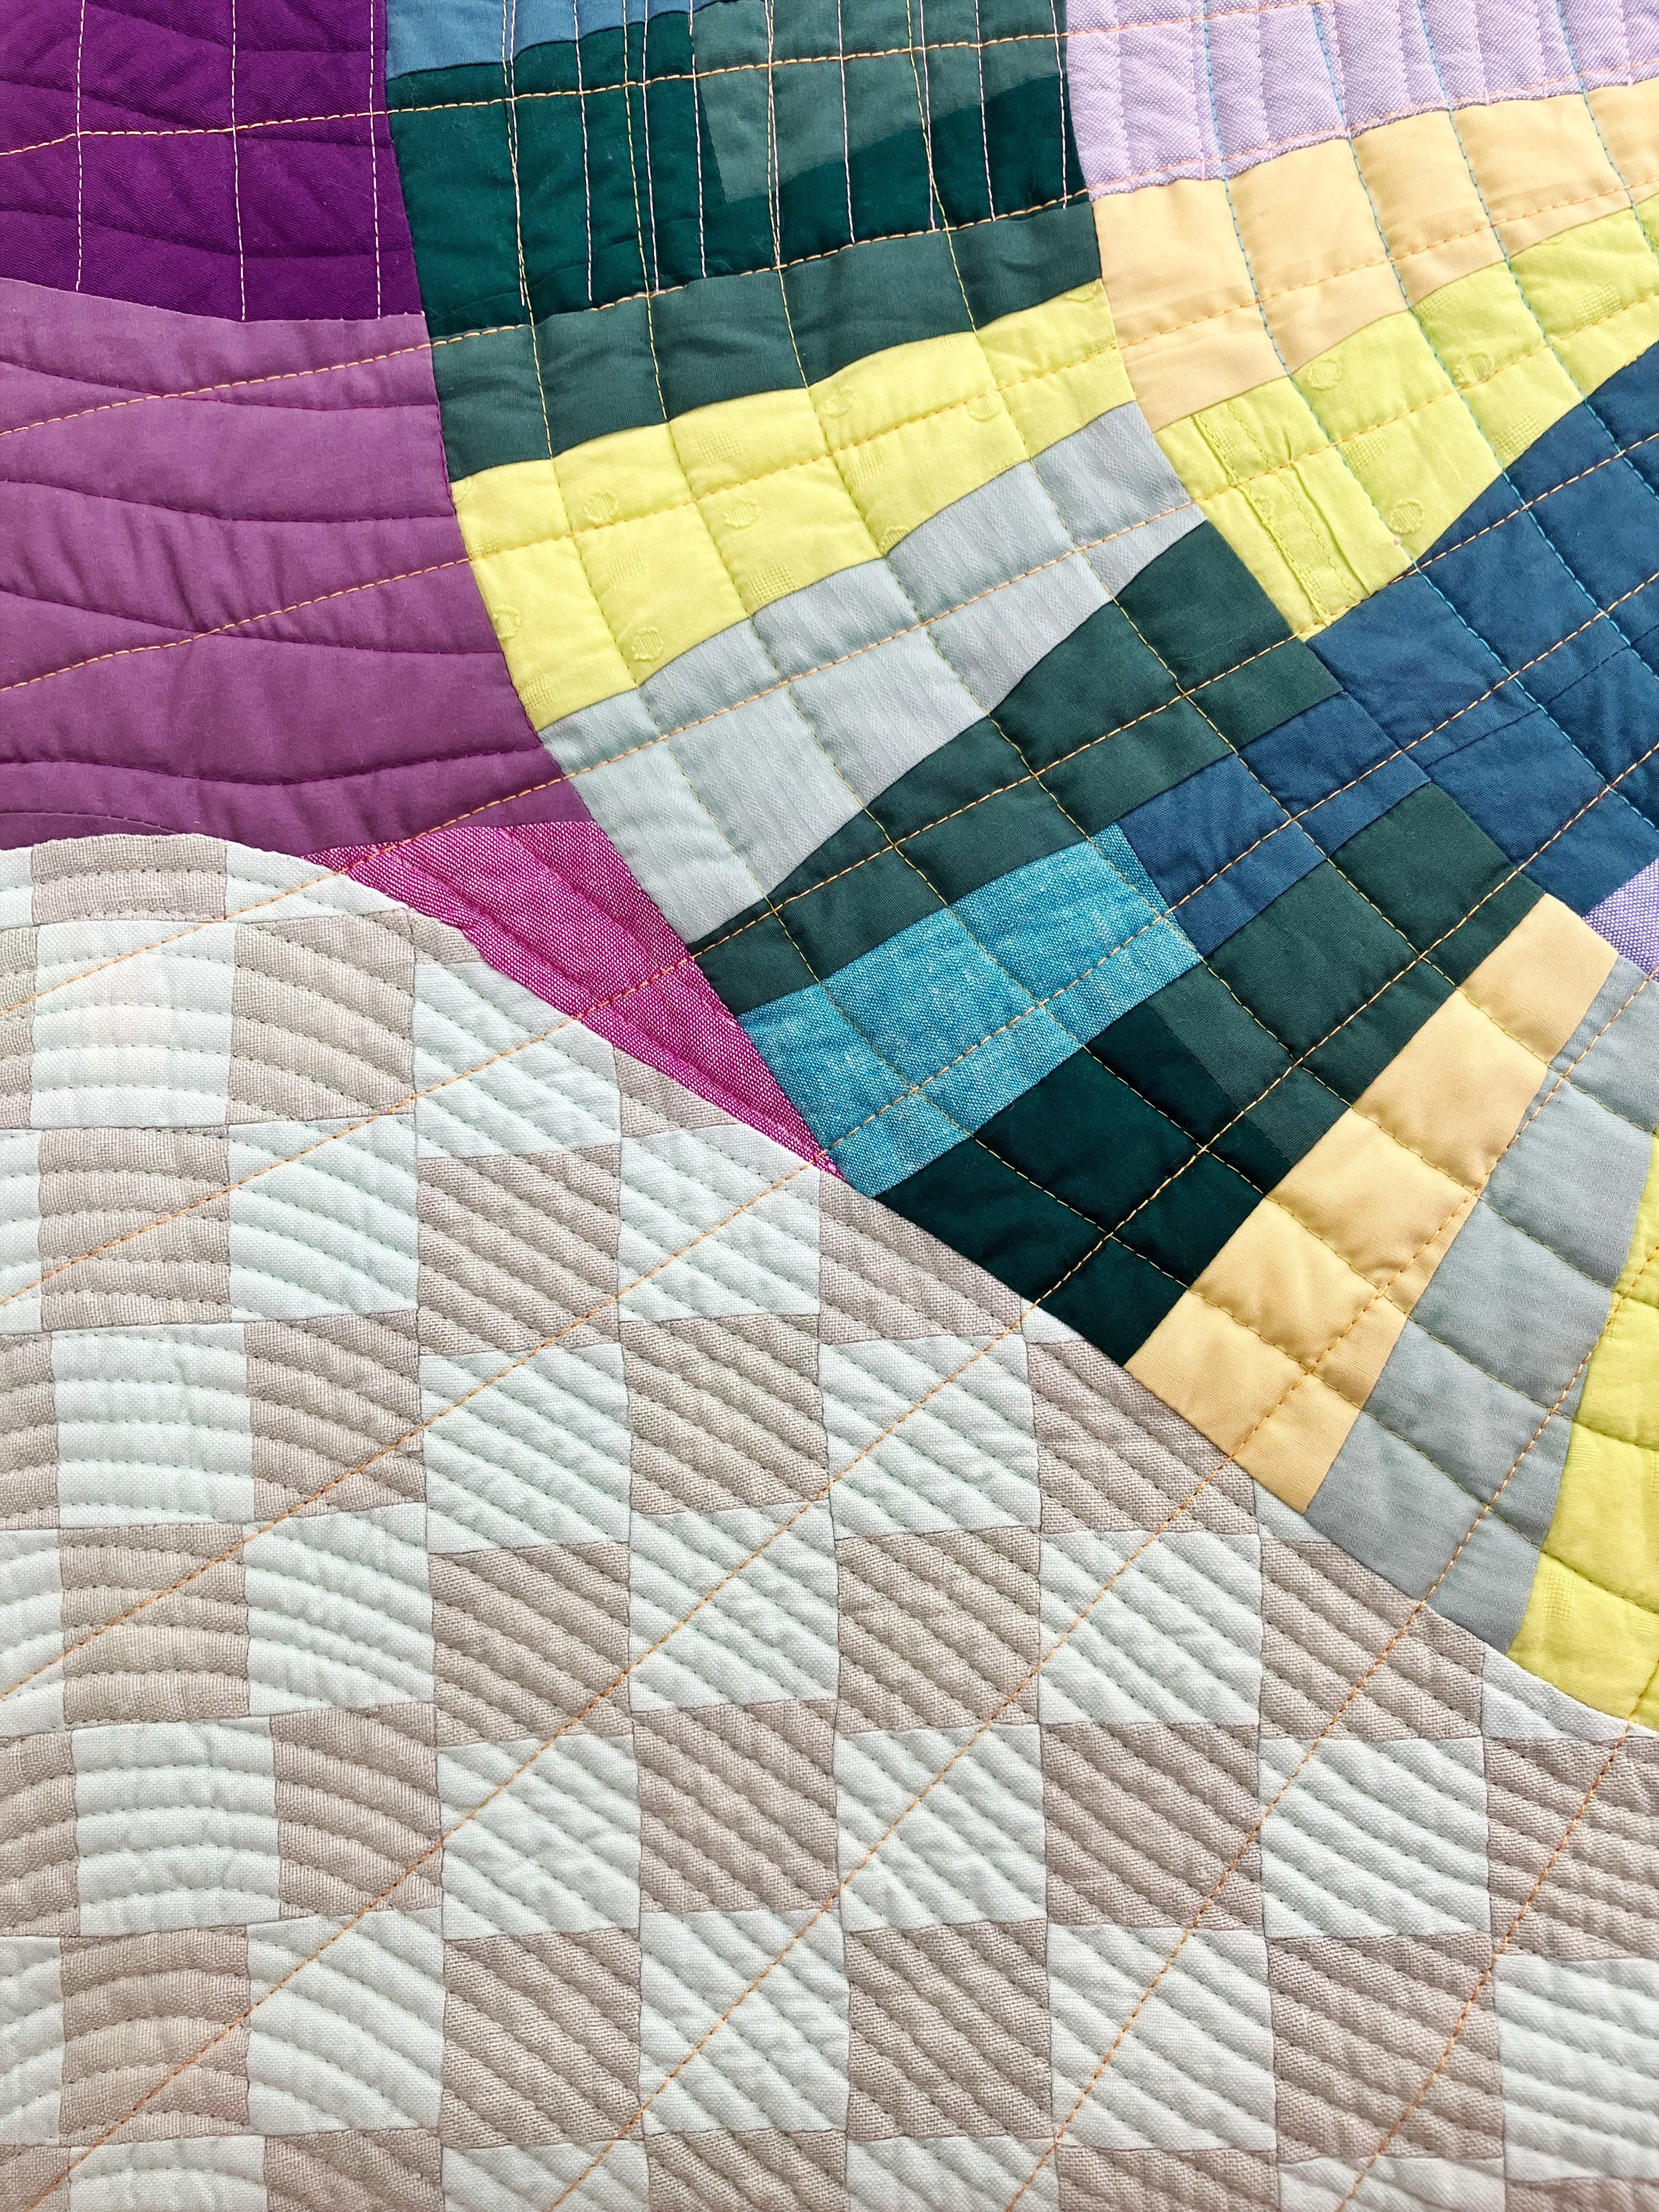
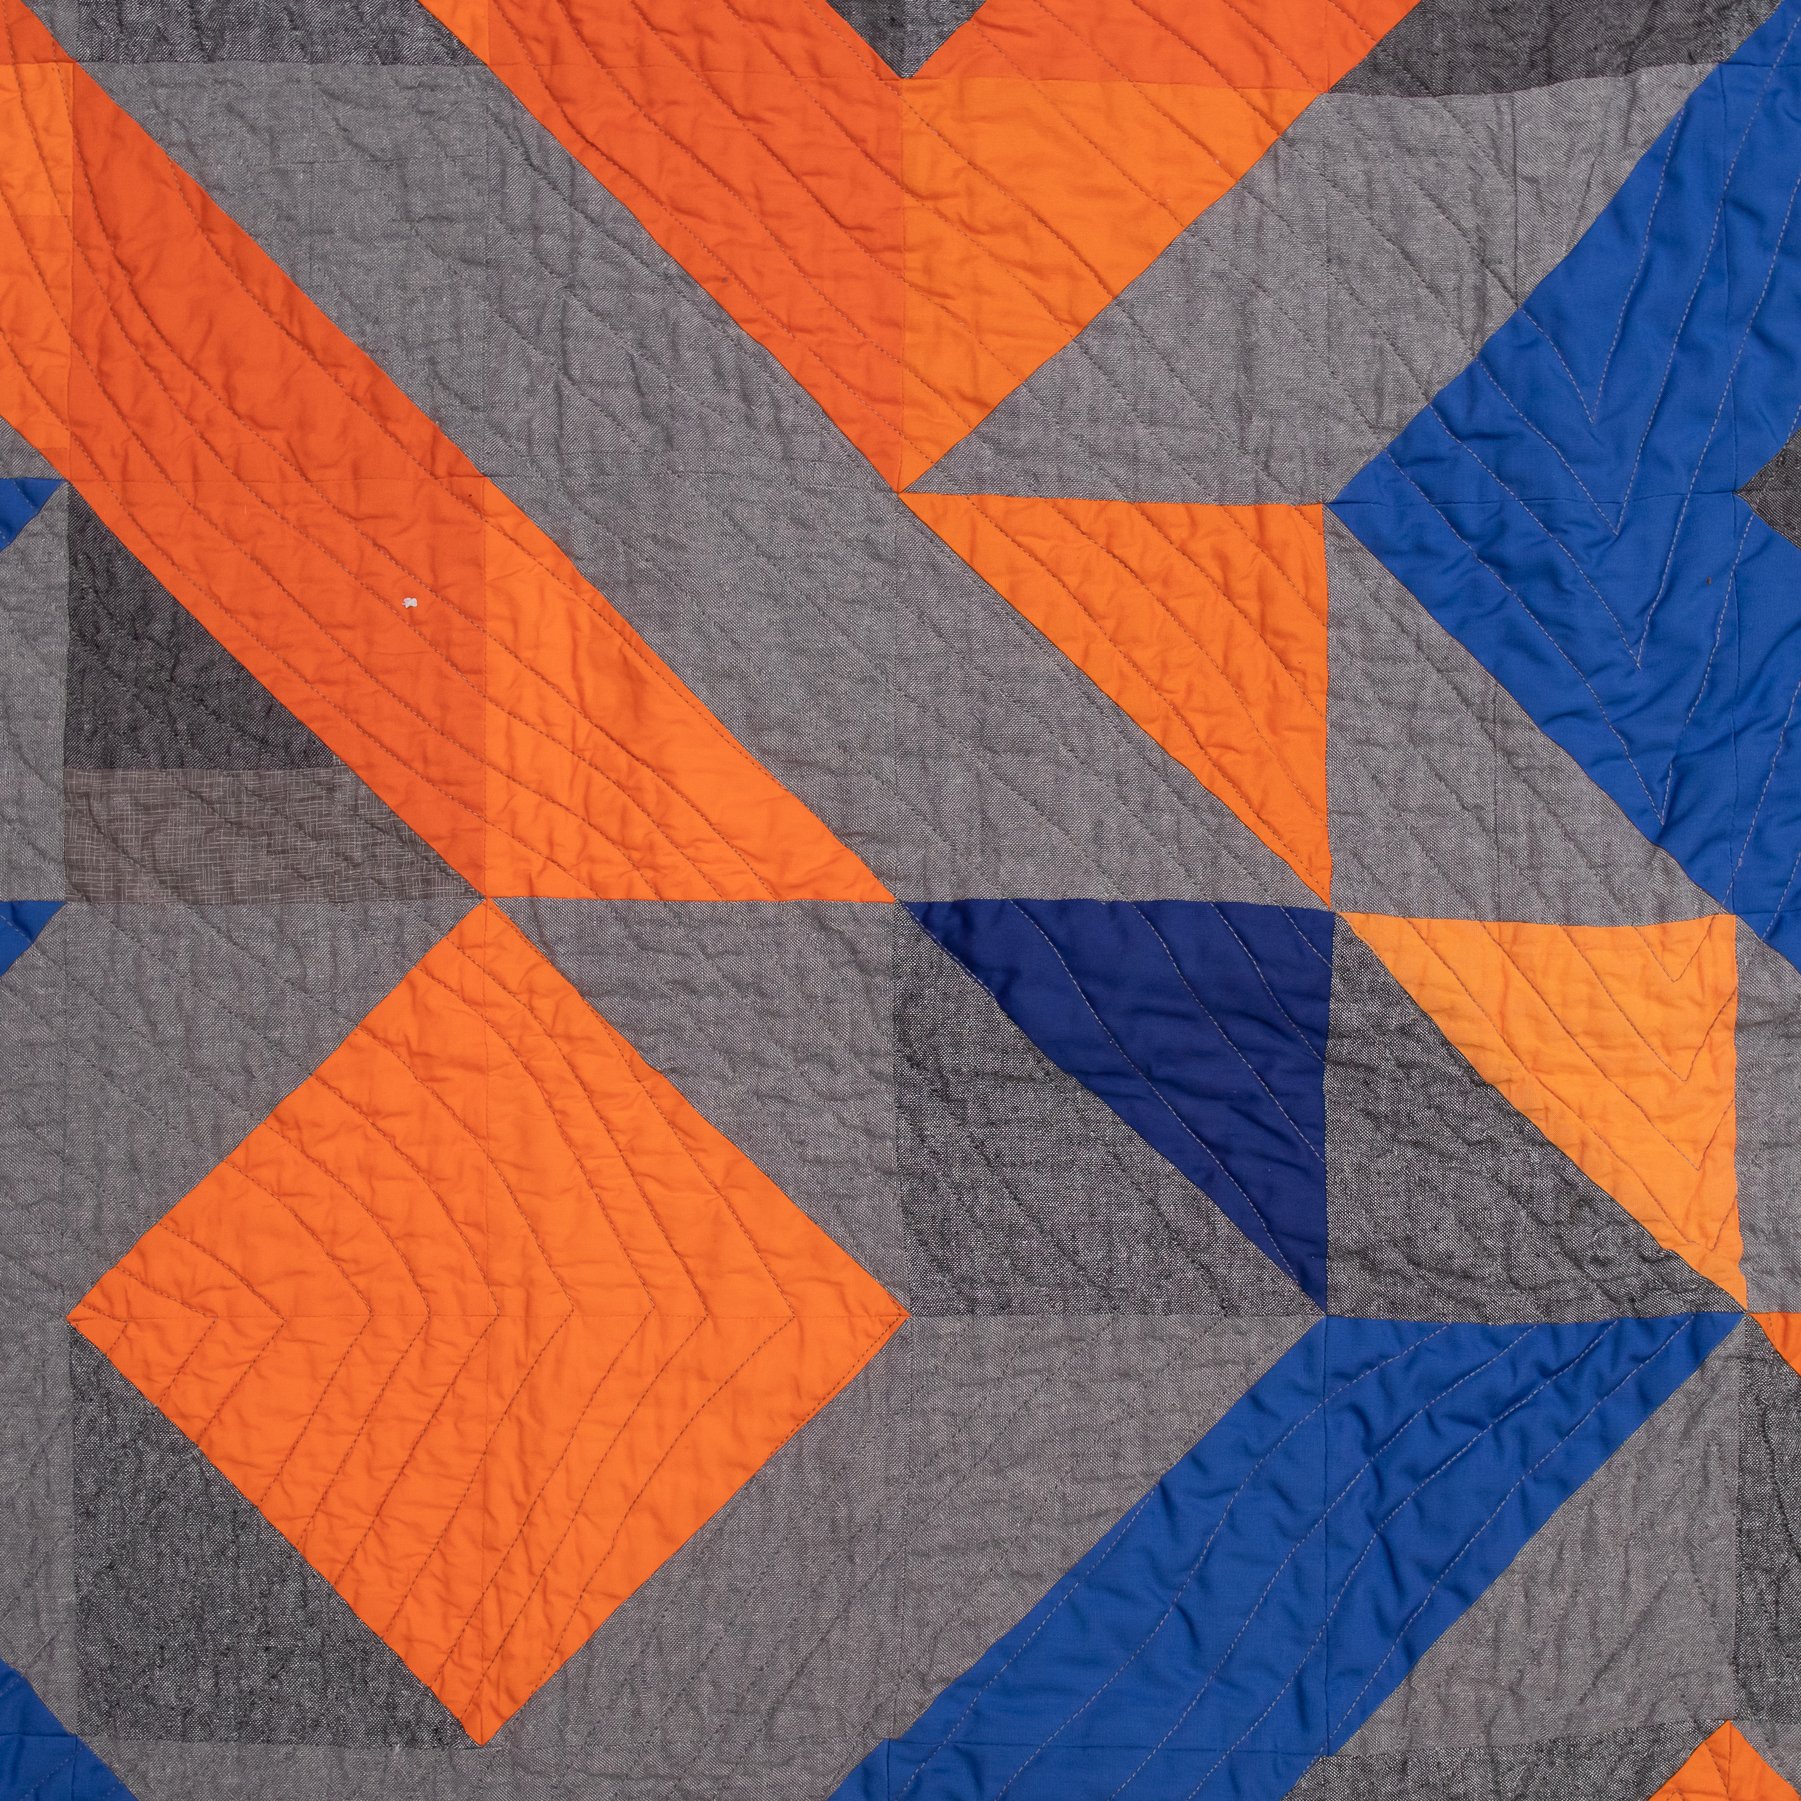
Discover how to create a unique machine quilting effect by leaving extended thread tails exposed instead of burying them. This technique adds a striking layer of visual interest, first uncovered through organic experimentation. In this class, you’ll learn how to master the effect and explore new ways to incorporate it into your own work. Using small sample quilt sandwiches, you’ll have the opportunity to practice and experiment with this distinctive technique.
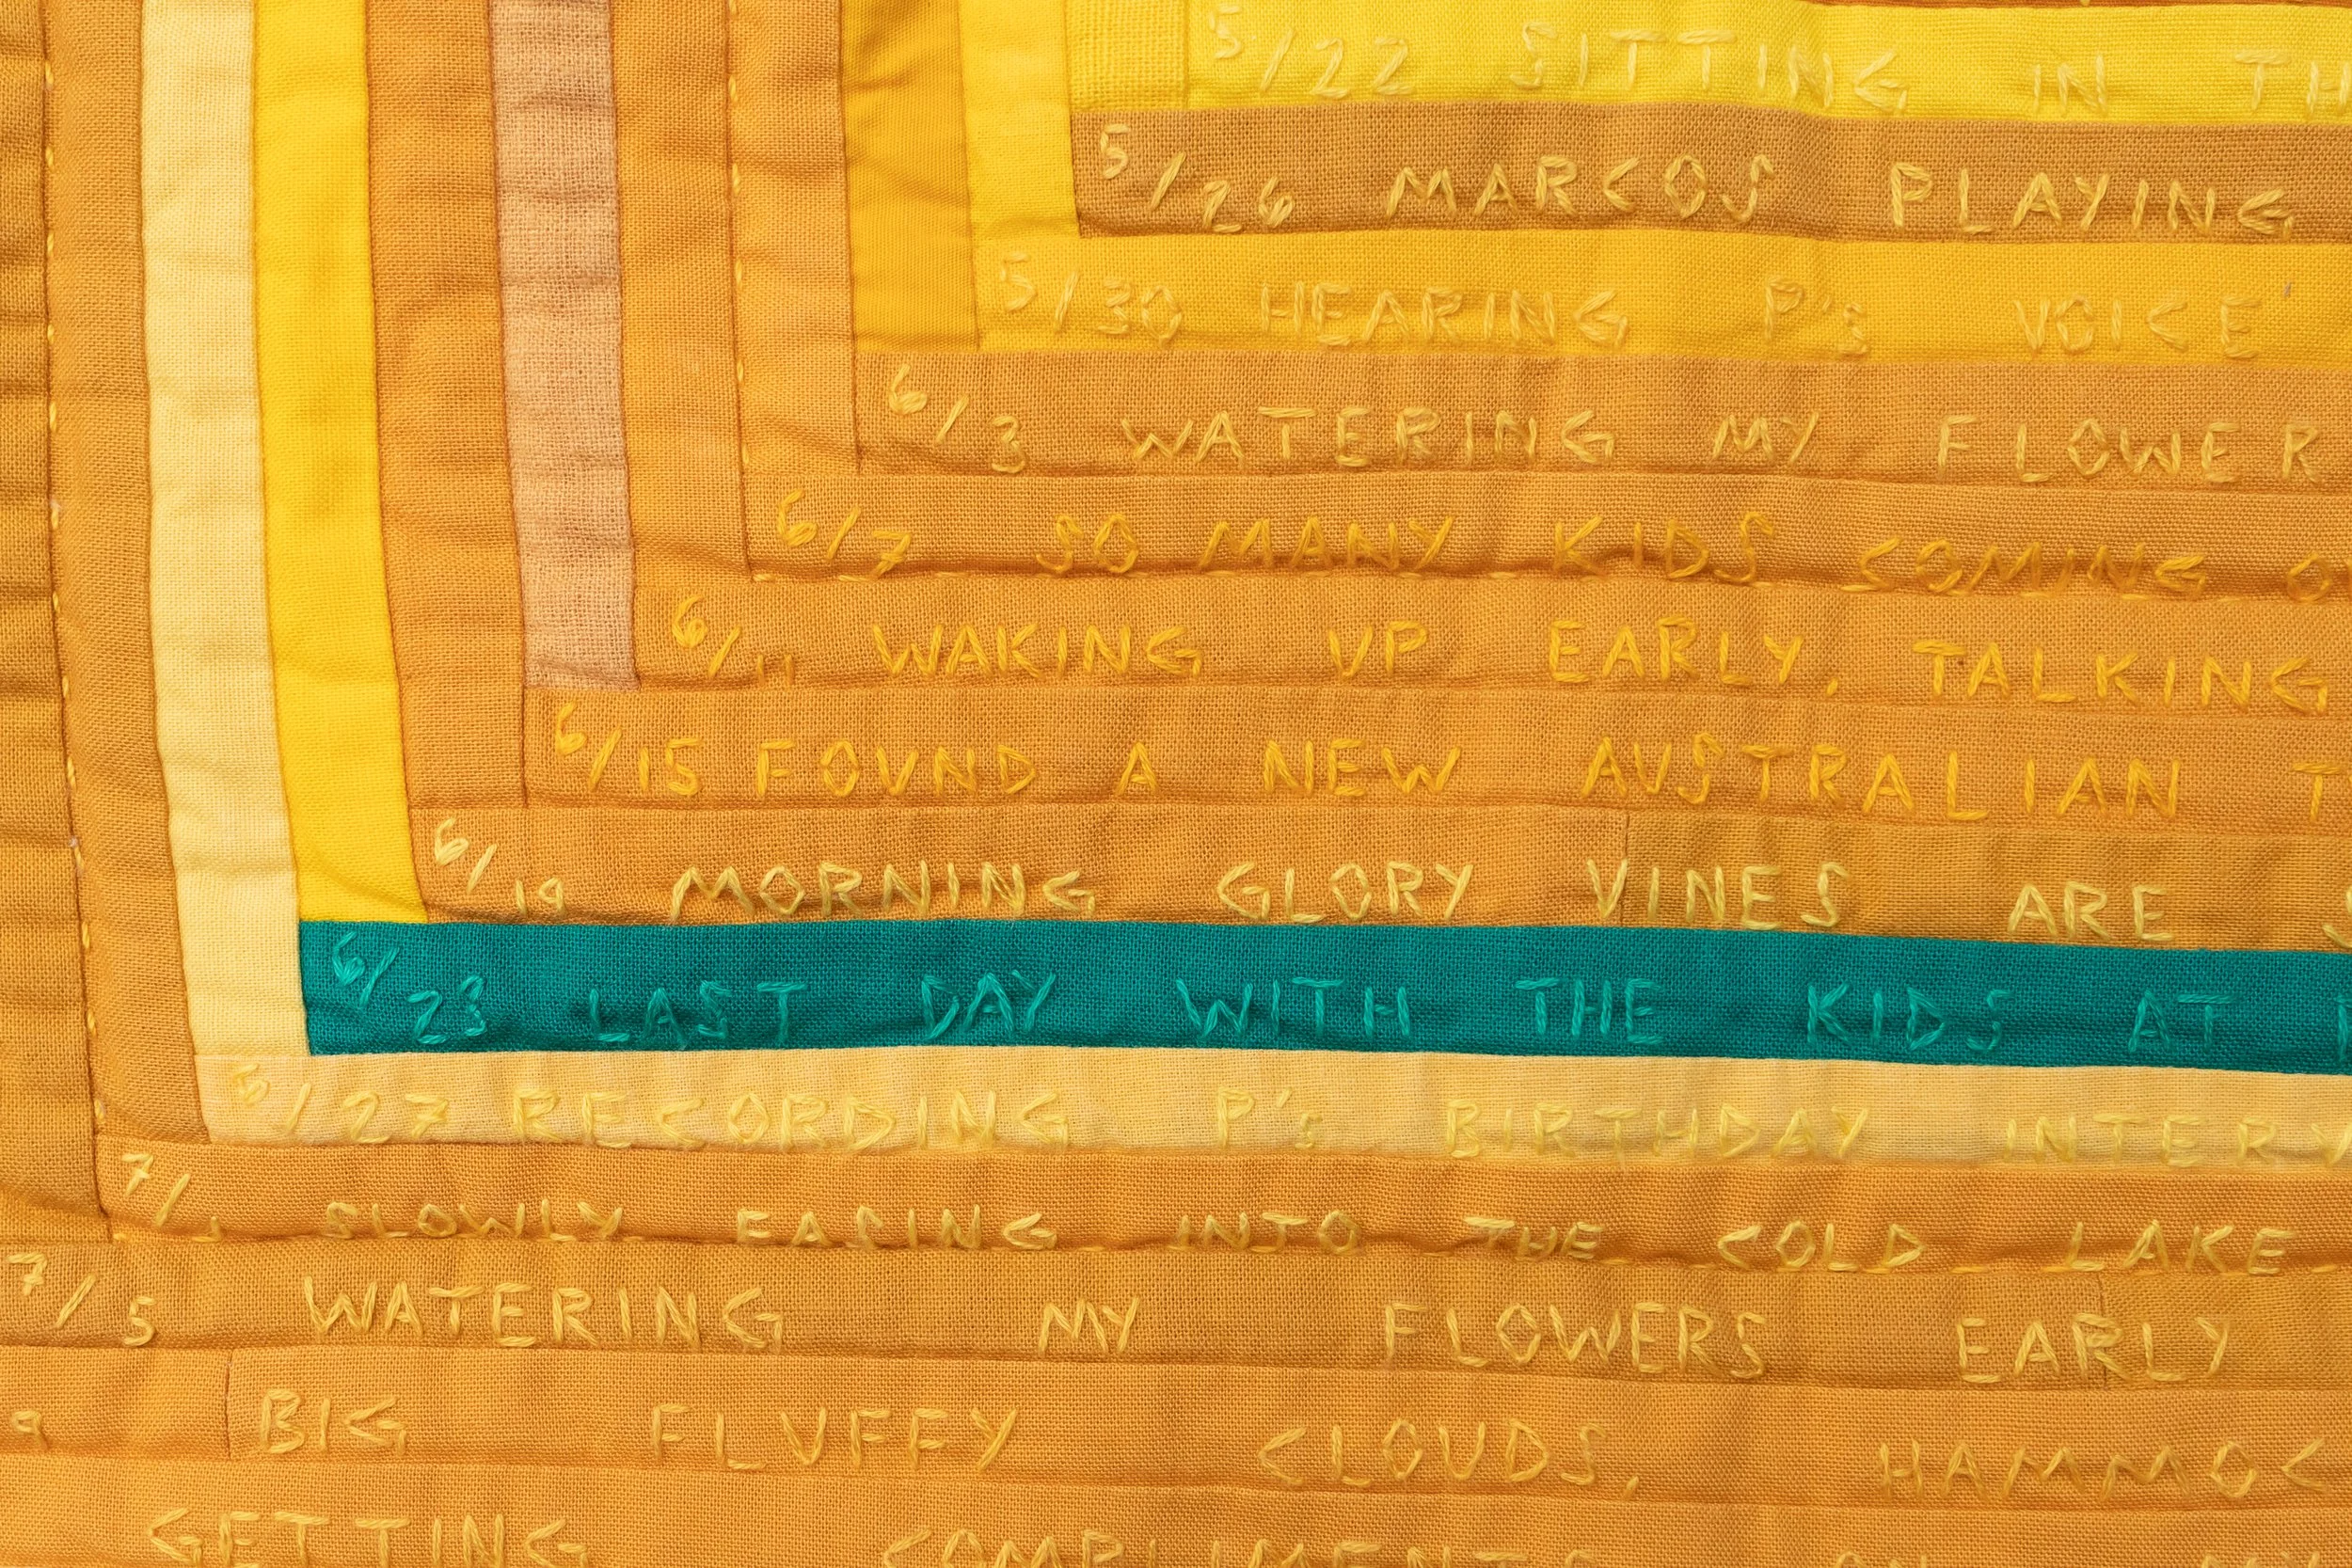
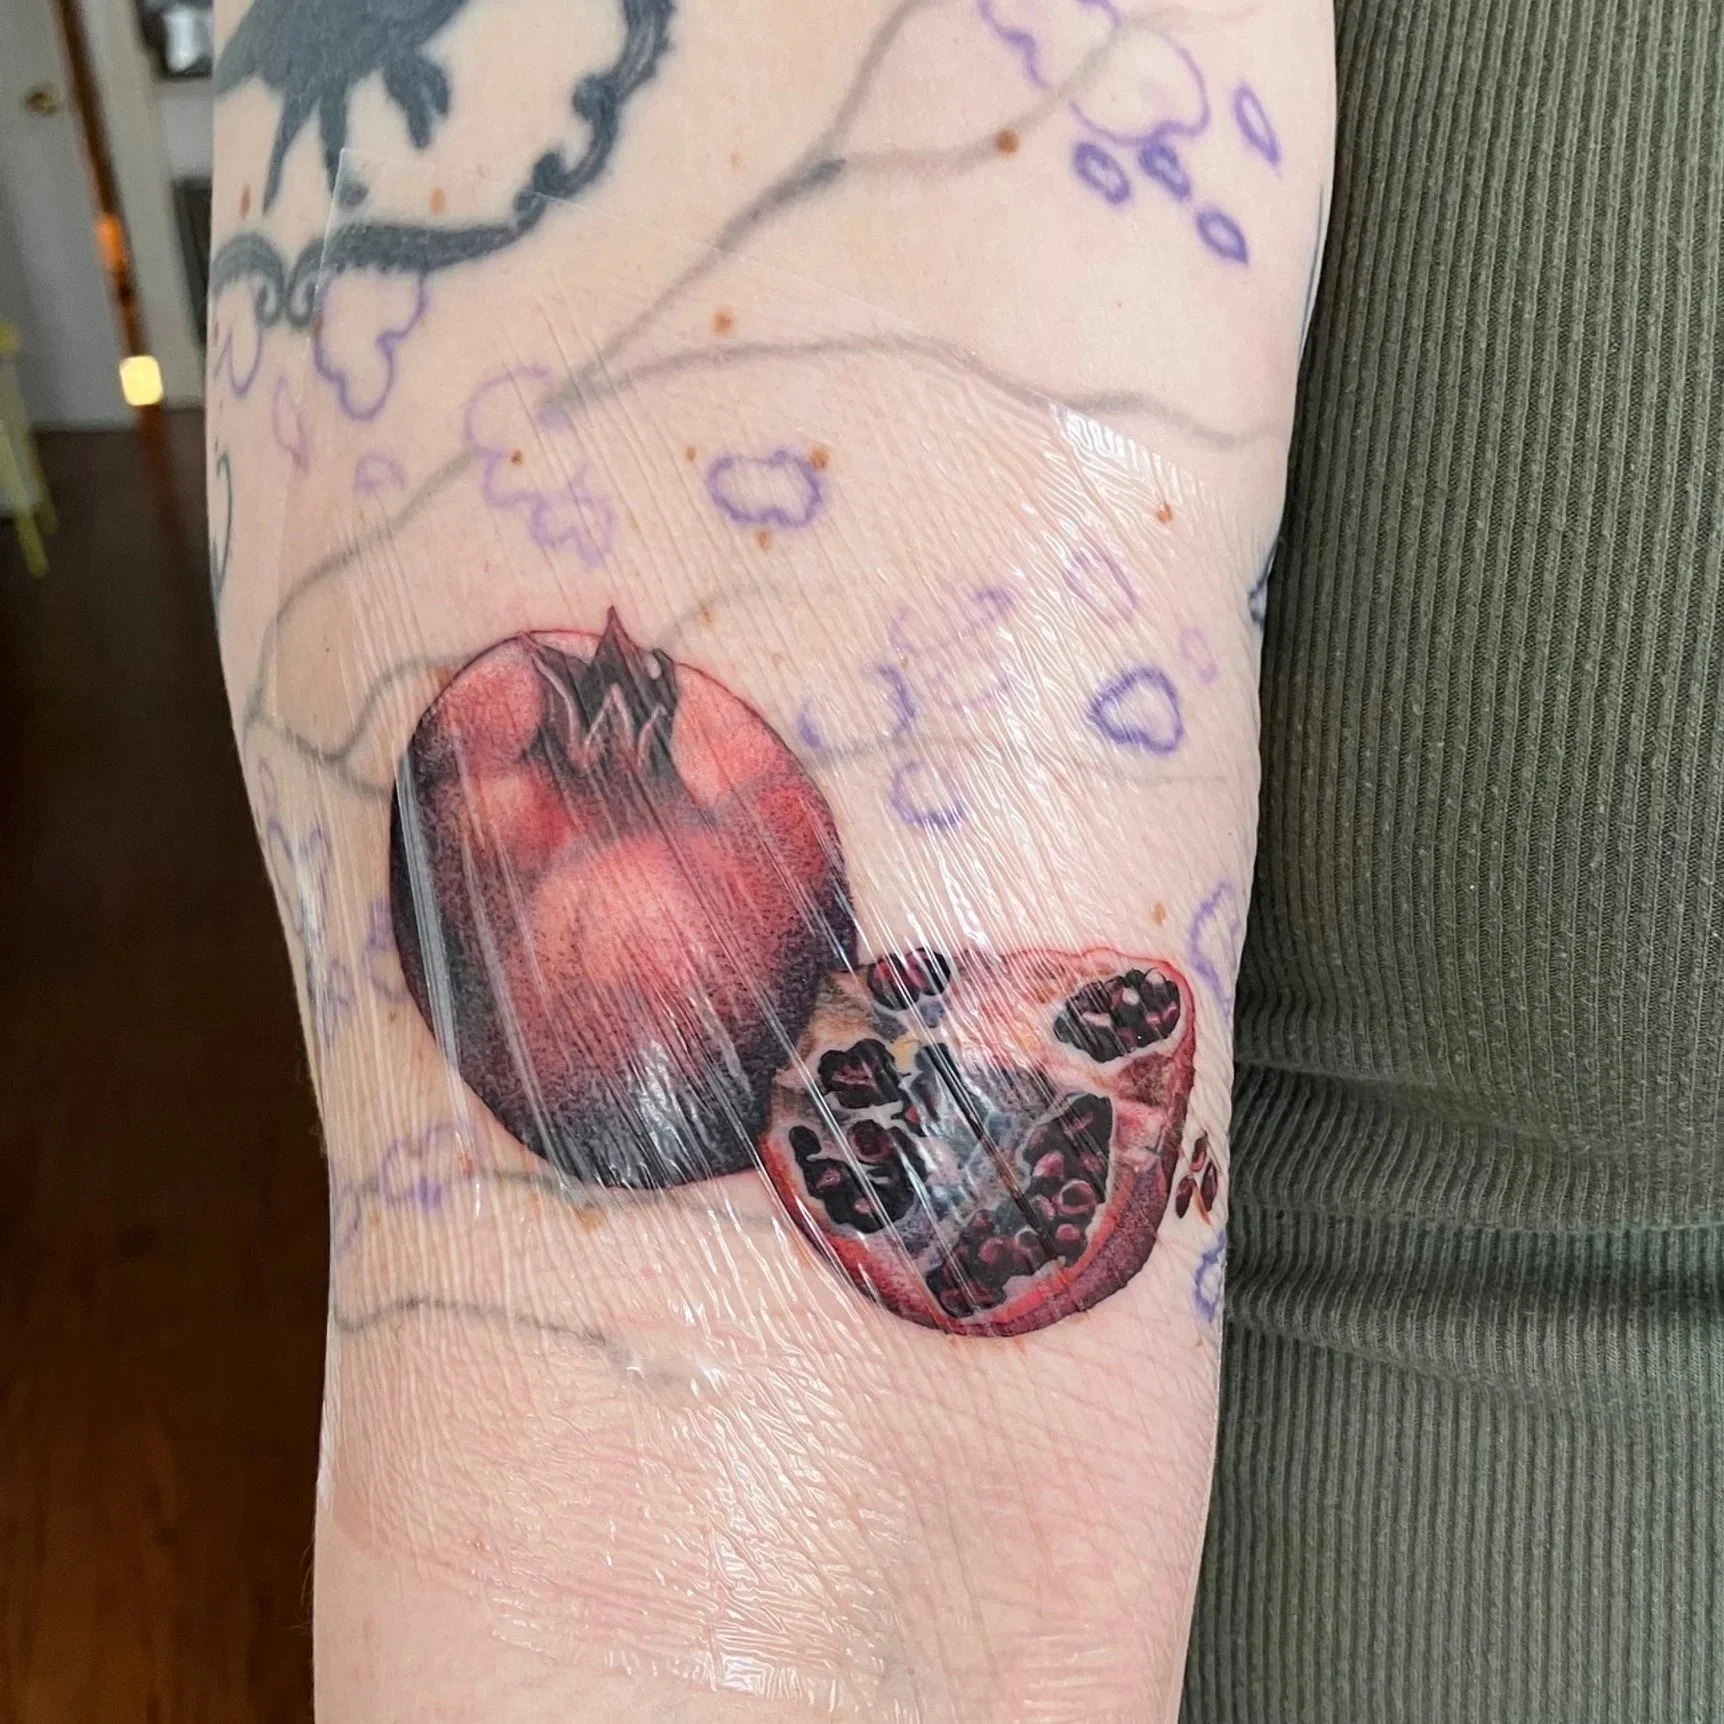
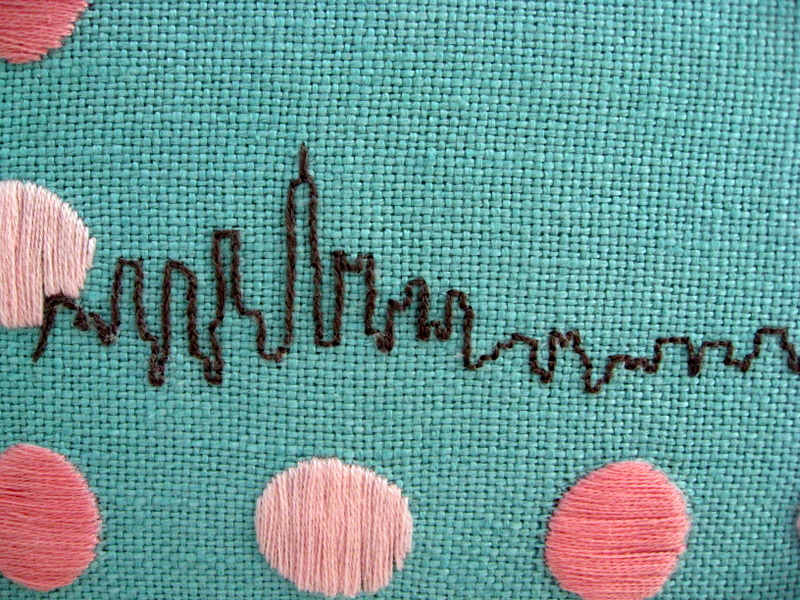
In this workshop, Laura will teach you her personal method for embroidering handwriting, showing you how to turn your own script into stitched text. You’ll learn how to transfer and embroider words in cursive, block print, and both upper and lower case styles—perfect for adding a personal touch to your work. Students will receive a detailed PDF with written instructions to refer back to, and Laura will be available to answer any follow-up questions via email.
Journal